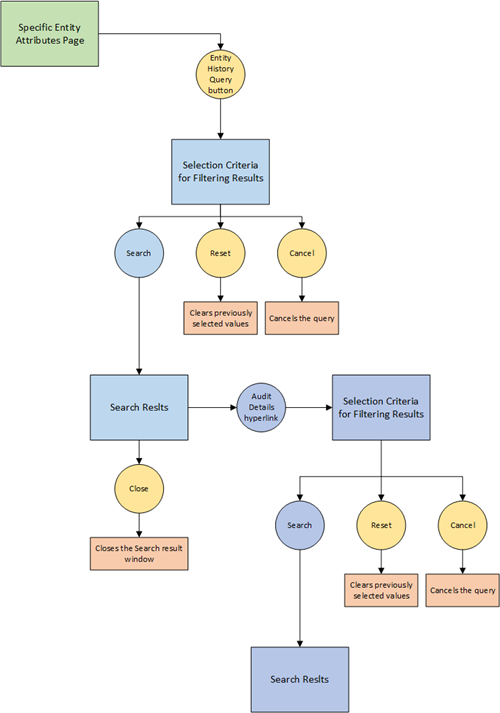
Create an Entity History Query
You can create an Entity History query on the Entity History Query page.
To create an Entity History query:
-
On the
Entity History Query page, to view the history for a specific time period, type or use the
Calendar icon
 to select the beginning date in the first
Date box and type or select the end date in the second
Date box.
to select the beginning date in the first
Date box and type or select the end date in the second
Date box.
-
To see additional information related to attributes associated with the entity, click
Audit Details.
When the Entity Audit Trail Query page appears, perform steps 3 through 8 to launch the query.Note: In the Entity History query, the Action column is not related to the PDS status or actions performed on PDS details. When you change a status in a detail object, you always get a U row to signify a database record has been updated, including for a pending withdraw.